Installation
In this article we'll see how to install QGIS and PostGIS in Windows and in Linxu (Ubuntu). With the result of this installation we can start to work with them.
Windows
PostGIS
PostGIS is an extension of PostgreSQL, so we need it in order to install PostGIS.
Download the PostgreSQL installer from its download page, following the link for your operating system (Windows 64 bit in my specific case).
Double click on the installer and it will start.
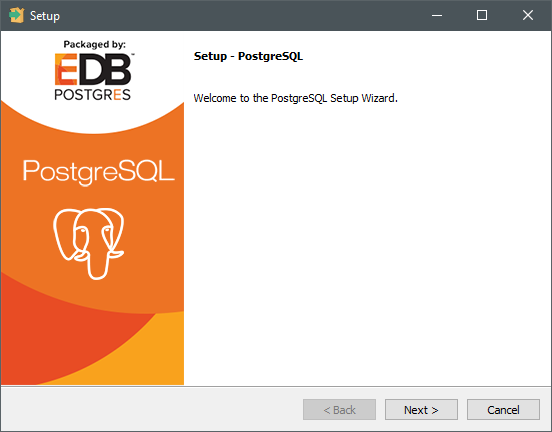
Click next to start the installation:
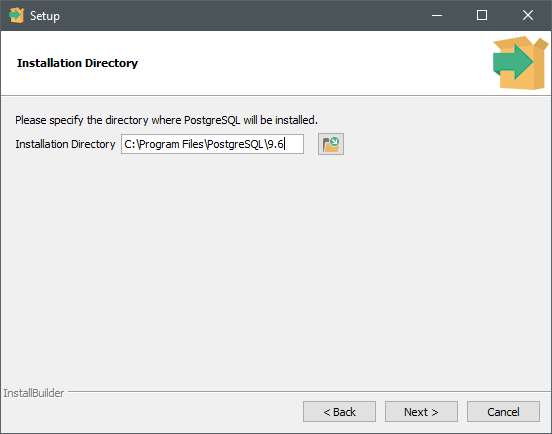
We need to select the installation folder. I prefer to leave the default location if there's no specific reason for select a different one.
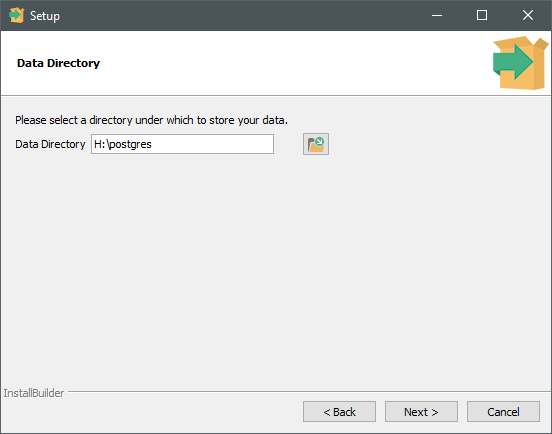
In the next step the data folder must be selected. This is the folder where databases and configuration will be stored. I like to change this folder, because putting data in Program Files folder is something that I don't like (programs and data should be always separated). Select the folder that you want to use for storing databases.
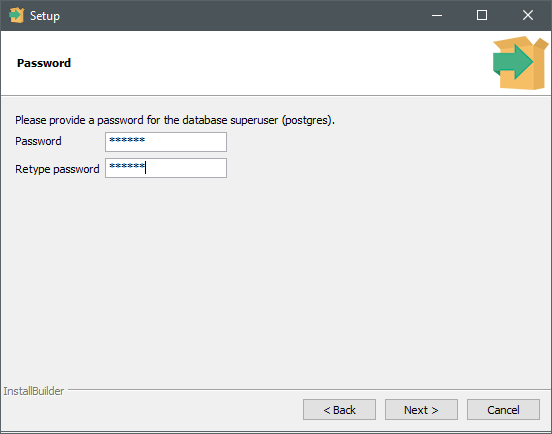
Now we need to select a password for the superuser, that's named postgres. This is the root password that allows to modify everything, so be careful in choosing it.
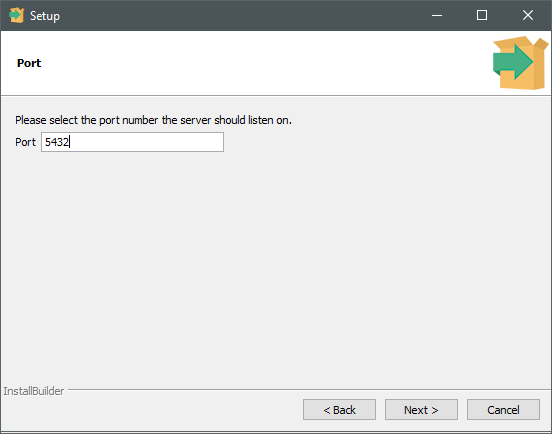
In the next step we need to select the connection port. This is the port used for both local and remote connection, and is the port in which the PostgreSQL service will listen. I prefer to leave it to the default value, but you can change it obviously. Only, remember it if you change it, because it will be needed in order to connect to databases and work on them.
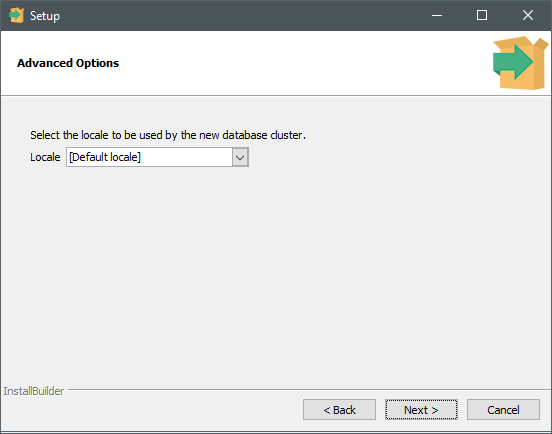
In next step, we need to choose the default locale used for databases. You can leave it to the default value. I prefer to set explicitly a particular locale directly in the database, if needed.
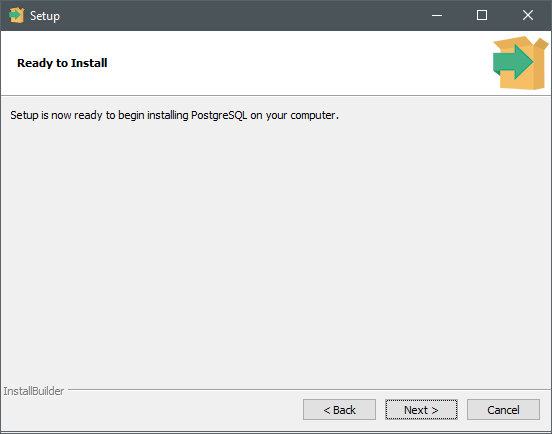
When all steps are completed, is possible to start the installation. It will take some time...
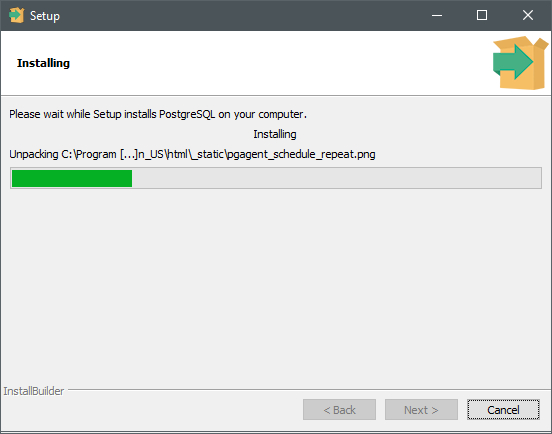
The installation will copy files, start services and set database options chosen in previous steps.
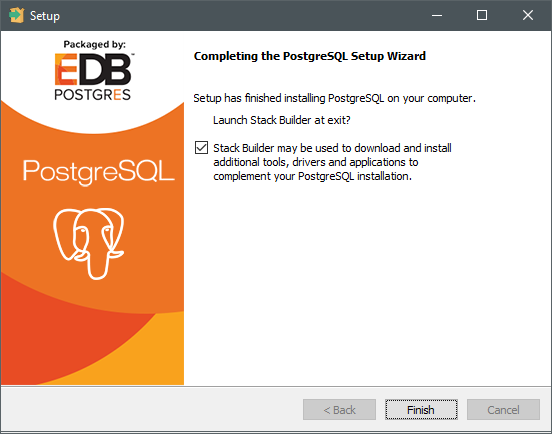
When the installation of PostgreSQL finishes, we can end the installation program. But at this point we installed only the database. We need to continue the installation in order to install also PostGIS extension. So, before click to Finish, be sure that the checkbox for Stack Builder is selected. This allows us to continue the installation for extensions.
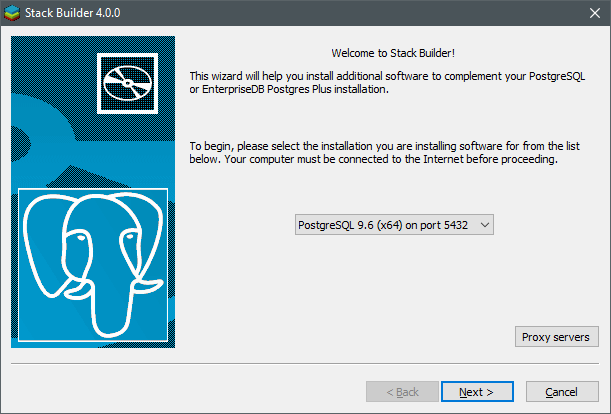
The Stack Builder will start. We need to select a database in order to install extensions. We should have only one PostgreSQL installation, the local one, so select it and we can continue the installation.
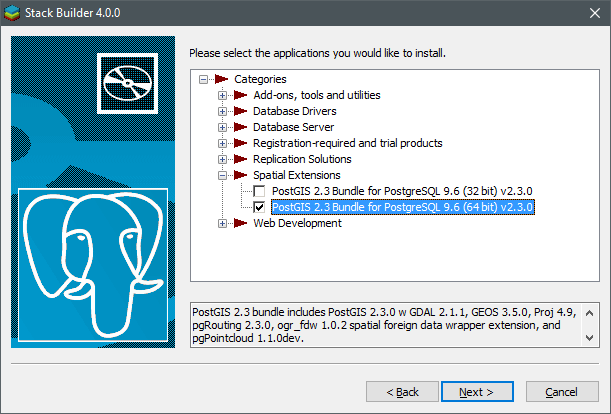
Now we can select the PostGIS extension. We need to expand Spatial Extensions section in order to find it. Be only careful about selecting the right architecture. In my case I've installed PostgreSQL 64 bit, and it will be the same architecture for the extension.
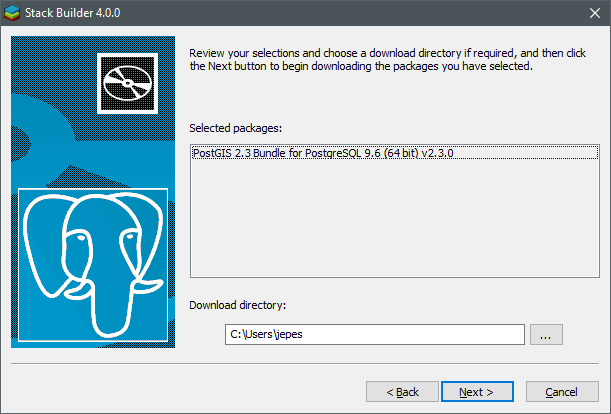
Now we can review the packages that will be installed (only one), so now we can download the selected packages.
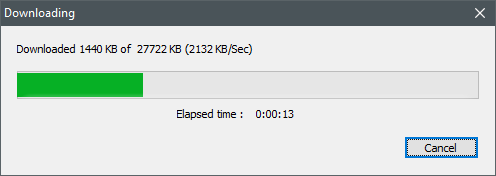
Installer will begin to download the package. It's not so big so you shouldn't wait too much.
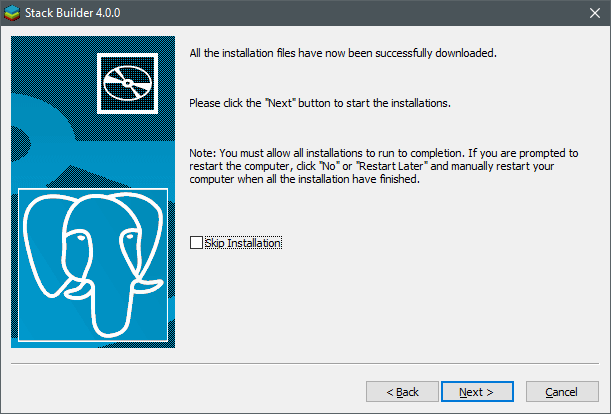
At this point, PostGIS extension is only downloaded. We need now to install it, so be sure that Skip Installation is unchecked, so we can proceed.

The PostGIS installation starts, and we can proceed. No problem here...
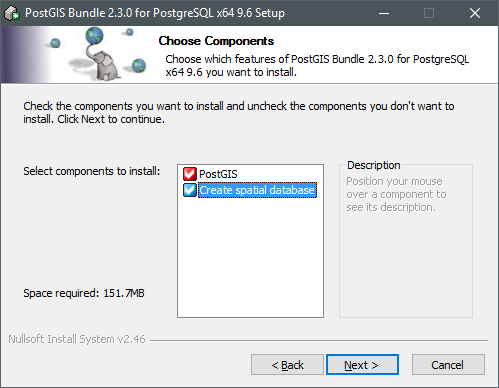
Now we can install components for PostGIS. It's already selected, but I prefer also to select Create spatial database. This option will create a sample database that can be helpful if you want to learn something. Many beginner tutorial are based on it.
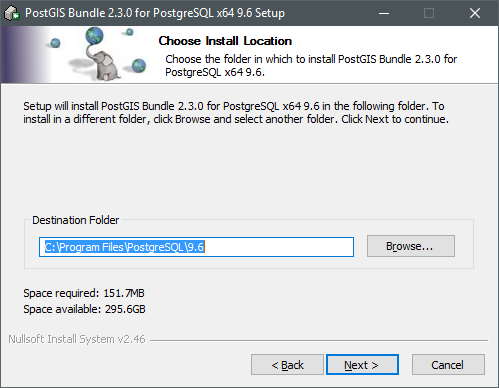
Now we need to select the installation folder. We can leave it to the default value. I like to have the database extensions in the same folder of database. It's logical.
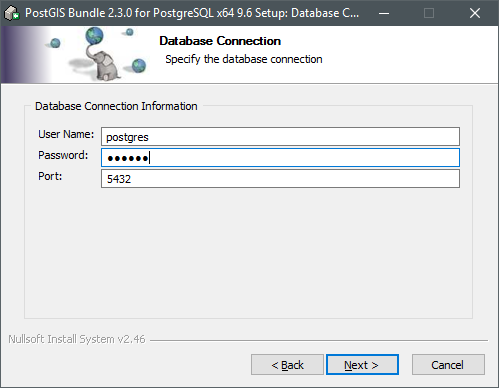
In order to install the extension, PostGIS needs to know the credential, so it can have the administrator access. The username is the standard one, postgres, so we need only to specify the password and the connection port that we set before.

Now we can select the name of the sample spatial database. Choose the one that you like. I like the default one. At this point extension installation starts.
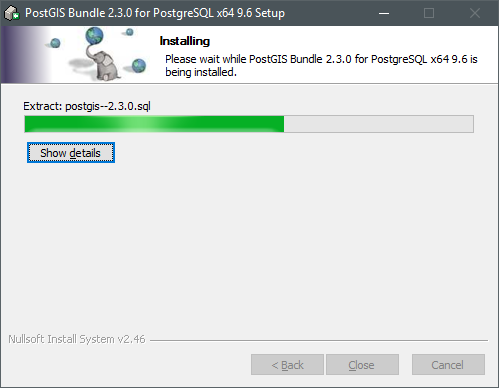
The extension will be installed with selected options.
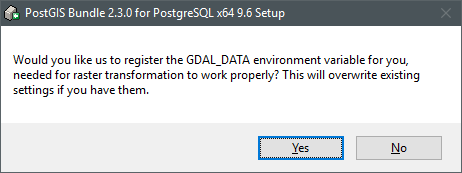
During the installation, PostGIS ask you to define some environment variable. The first one is GDAL_DATA that's needed for using the Gdal libraries that PostGIS uses in rasterization operation. You should allow the setting.
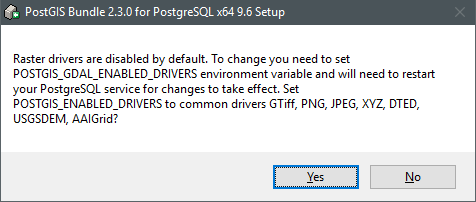
The raster drivers are also needed, and in order to work, you must also allow the setting of their environment variables.
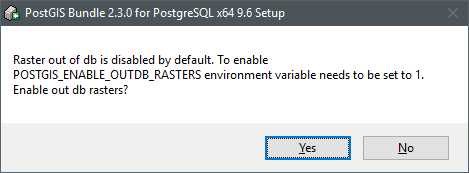
Raster out should be also enabled. You know what to do, I suppose...
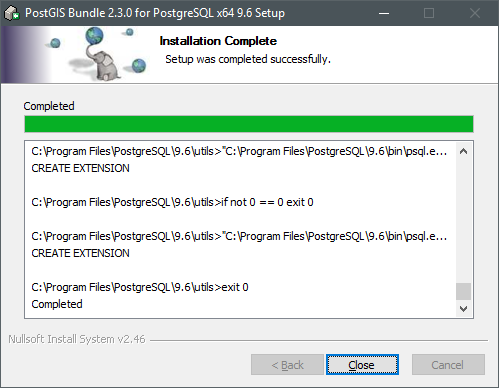
Now, we finally completed the PostGIS extension installation!!!
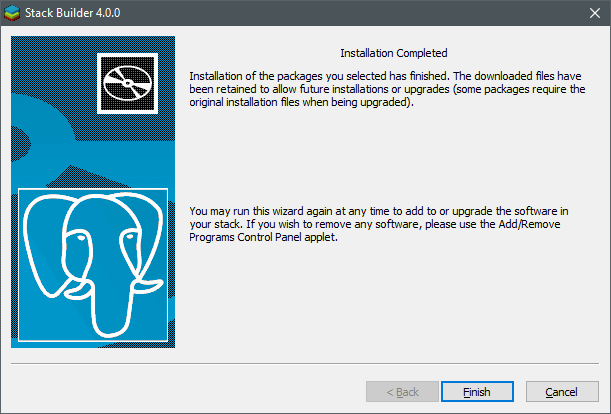
This concludes also the Stack Builder installation process. At this point you have a full working set-up of PostgreSQL and PostGIS. Congratulations!!!
QGIS
Now we can install QGIS. Obviously, the first step is to download it, so go to the QGIS download page and select the package that you need. I'm using here the Windows standalone installer. When you've the package, we can start the installation.
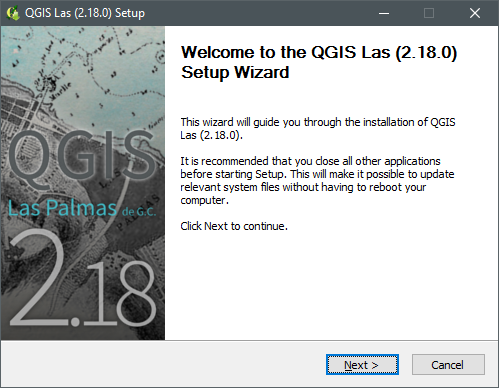
At the beginning of the installation nothing particular happens, so we can go ahead.
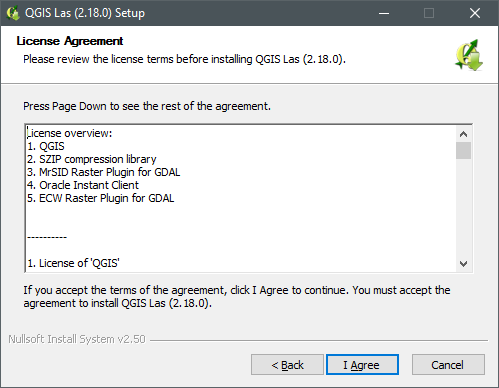
Now we have to read and accept the License Agreement of QGIS. Almost everytime we accept everything without reading, but once in a while is not bad to read in order to understand what we're doing, if you want...
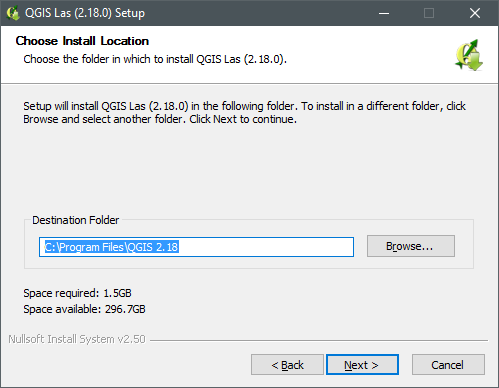
Now we can choose the installation path. Like before, usually the standard choice is a good one.

The installer now asks if we want to install some sample data. If you want to explore QGIS by yourself, and not using only these articles, I suggest you to install them, because you can work with some real data.
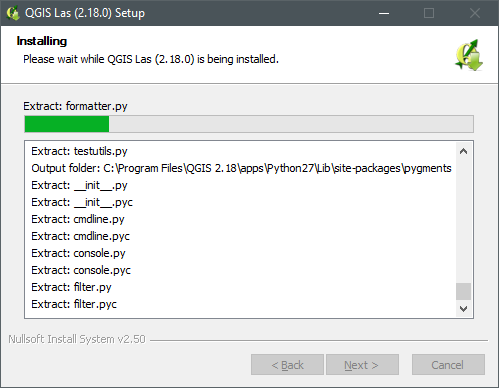
At this point the installation of QGIS starts. It's possible to see the progress of the installation.
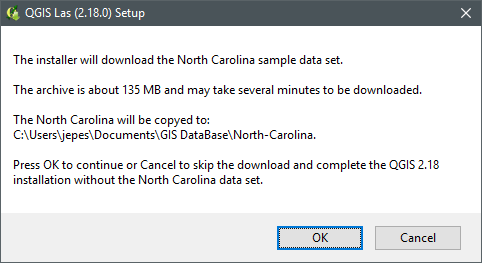
Before installing sample data set (if you choose to install them), a confirmation dialog will appear. This is the one for the North Carolina data set.
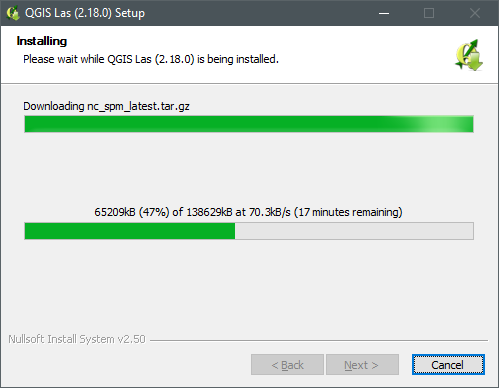
North carolina data will be downloaded and installed.
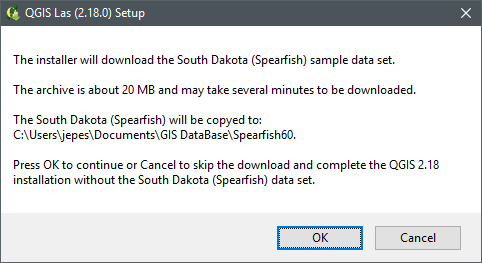
Now it's time to accept to install data of South Dakota...
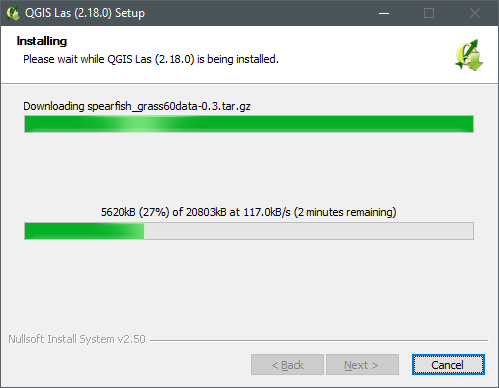
And South Dakota data will be downloaded and installed as well.
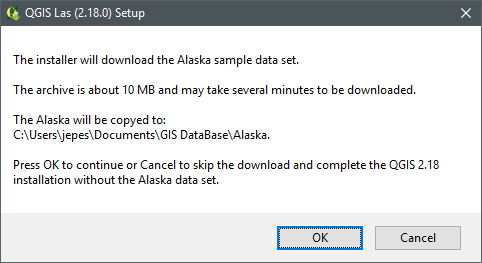
Last, but not last, the sample data set for Alaska. Press OK and continue.
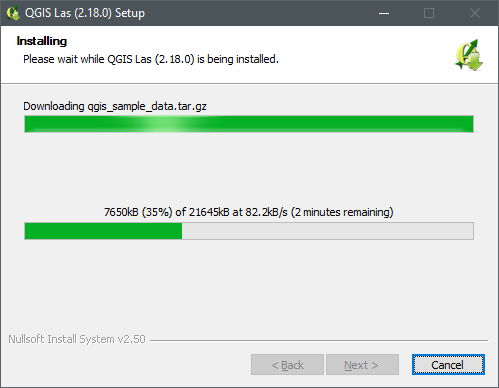
Also these data will be downloaded and installed. Finally we finished to install sample data!
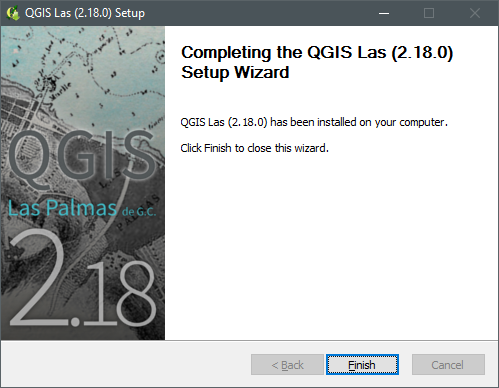
And finally we completed the installation of QGIS. Congratulations! Now we can start this program, but we'll see it in next articles!
Linux
PostGIS
In Linux (Ubuntu) the installation of PostGIS is more straightforward, because we can use qpt-get.
In order to install PostGIS, we need to install following packages:
$ sudo apt-get install postgis postgis-gui postgis-doc
And that's all.. Simple, isn't it?
QGIS
QGIS is also present in Ubuntu repositories, so in order to install you can simply install it with this command:
sudo apt-get install qgis
It will install everything is needed.
As you can see, the installation of our programs in Ubuntu is really simple.
Conclusions
In this article we've seen how to install QGIS and PostGIS in our computers. In next articles we'll start to work with them. Stay tuned!!!


